6 Easy Ways to Fix Msconfig Not Working
First, run the SFC scan to restore the missing files
4 min. read
Published on
Read our disclosure page to find out how can you help Windows Report sustain the editorial team Read more
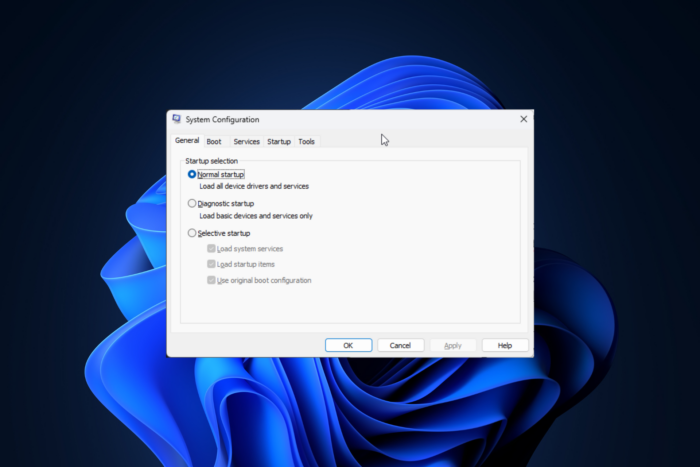
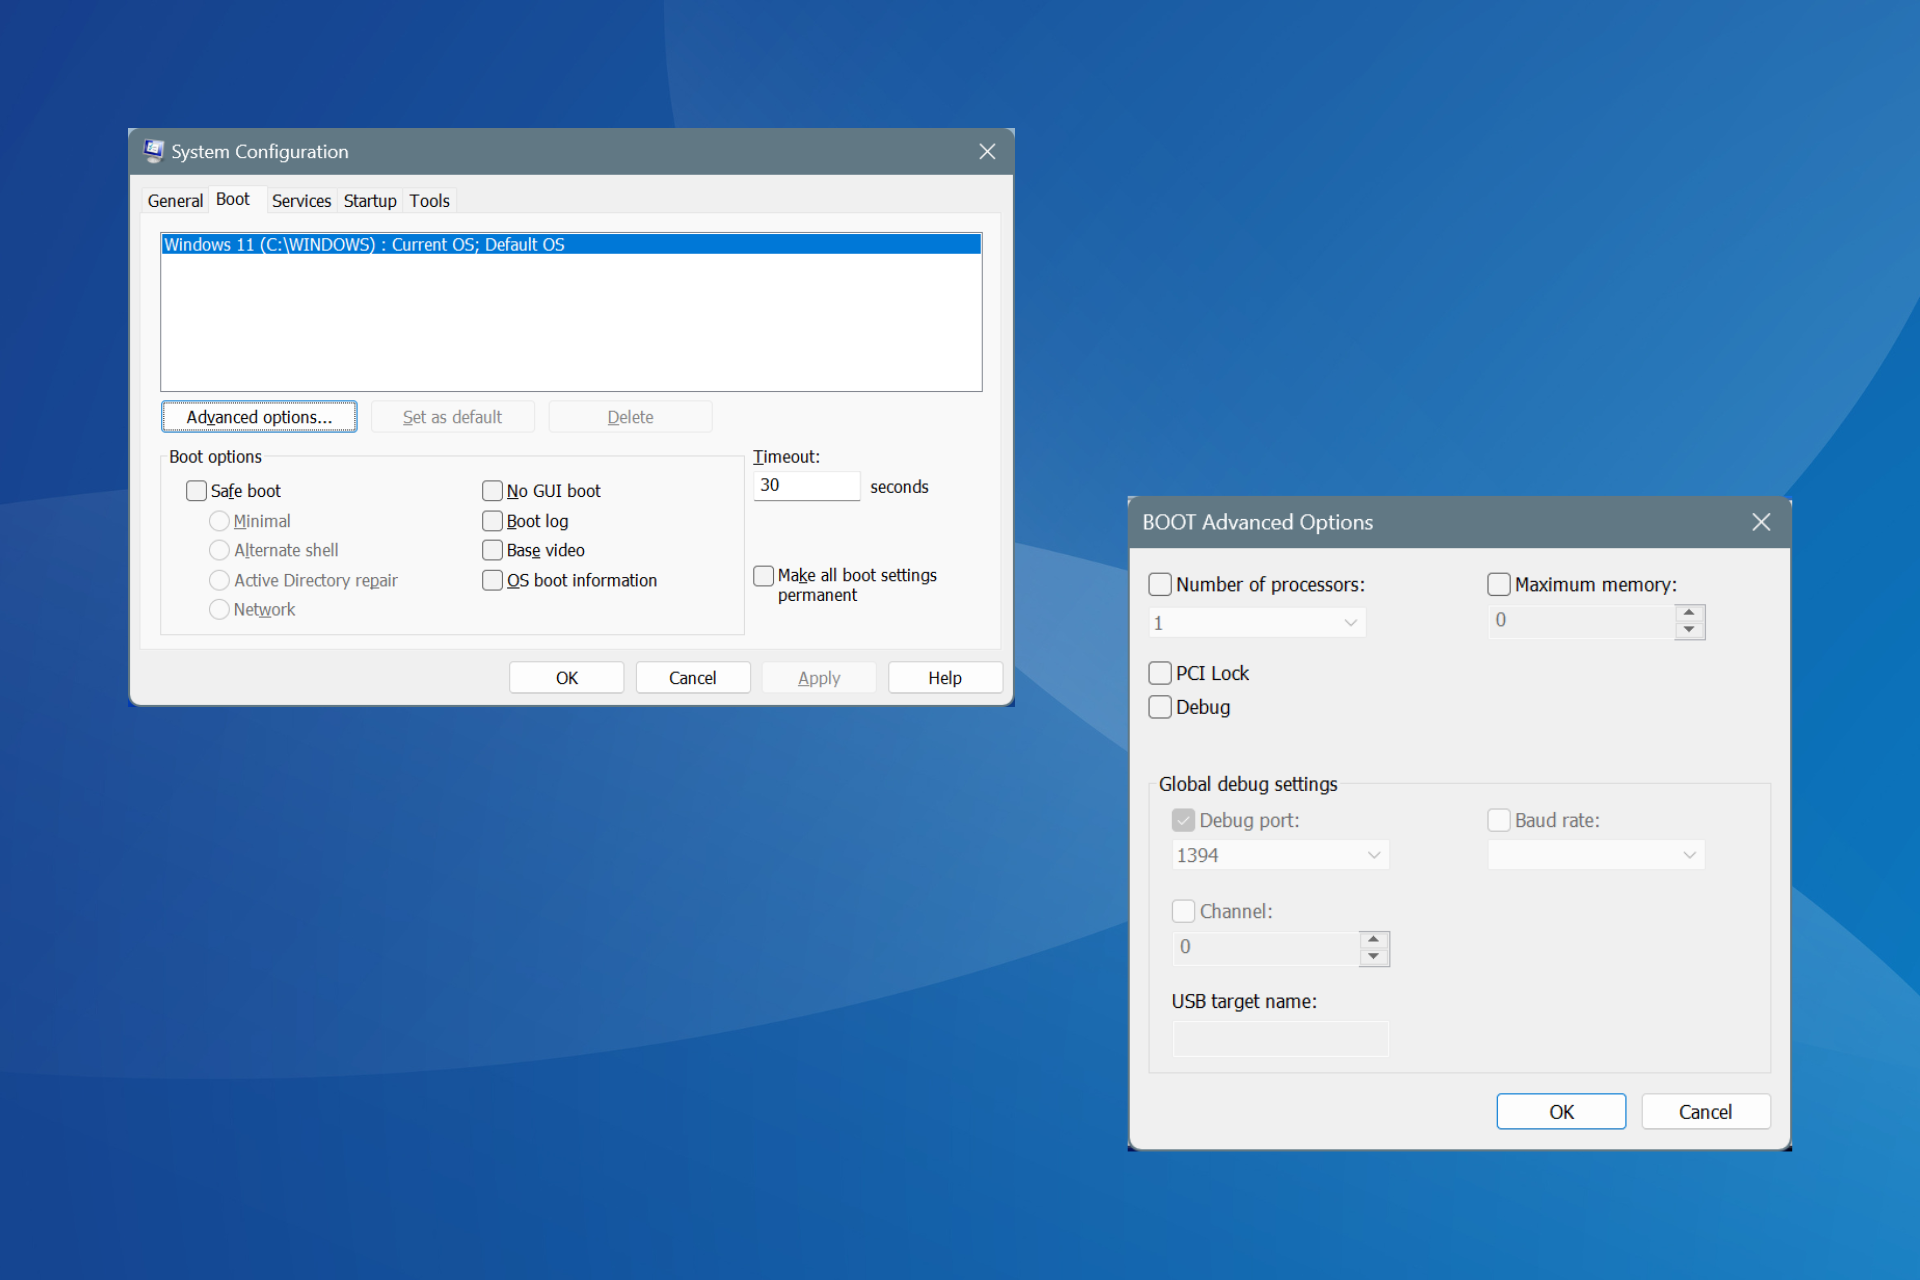
If Msconfig is not working properly, it could be due to corrupted system files, malware infection, or missing registry files. To fix it, you need to run a DISM & SFC scan, then a malware scan to begin with.
How can I fix the msconfig not working issue?
1. Run DISM & SFC scan
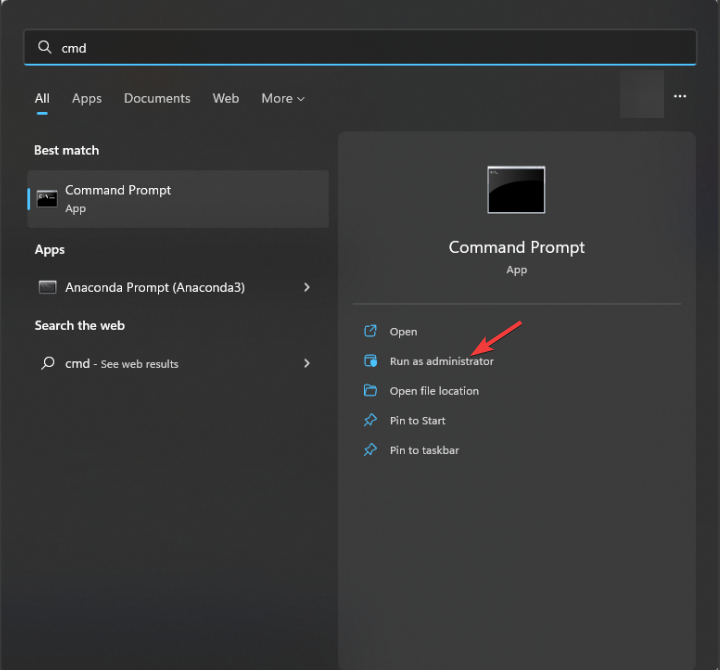
- Press the Windows key, type cmd, select Command Prompt, and click Run as administrator.
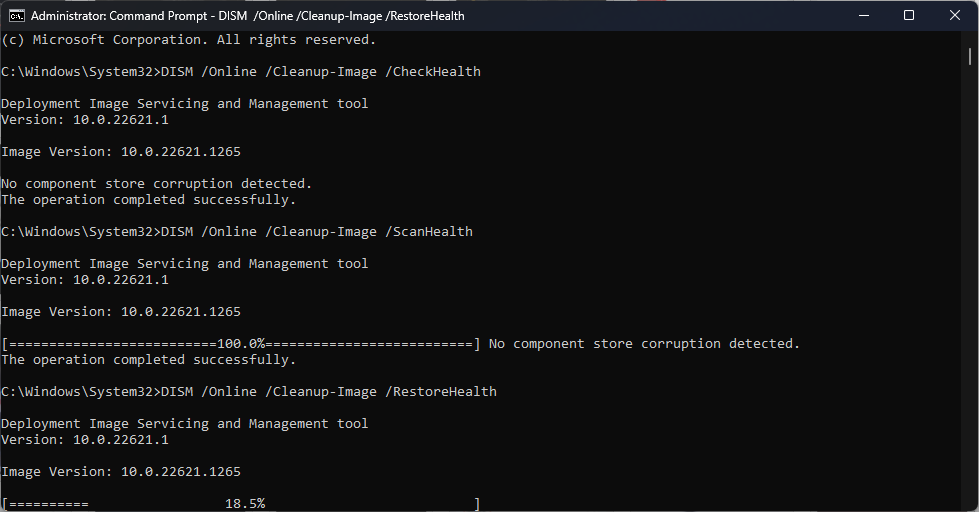
- Copy & paste the following commands one by one and hit Enter after every command:
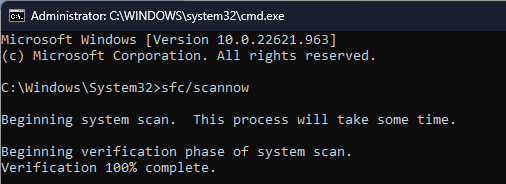
DISM /Online /Cleanup-Image /CheckHealthDISM /Online /Cleanup-Image /ScanHealthDISM /Online /Cleanup-Image /RestoreHealth - Once done, run the following command and press Enter:
sfc/scannow - This will scan and repair the corrupted system files, fixing the issue.
- Once done, restart your computer and try opening the System Configuration window.
2. Run a malware scan
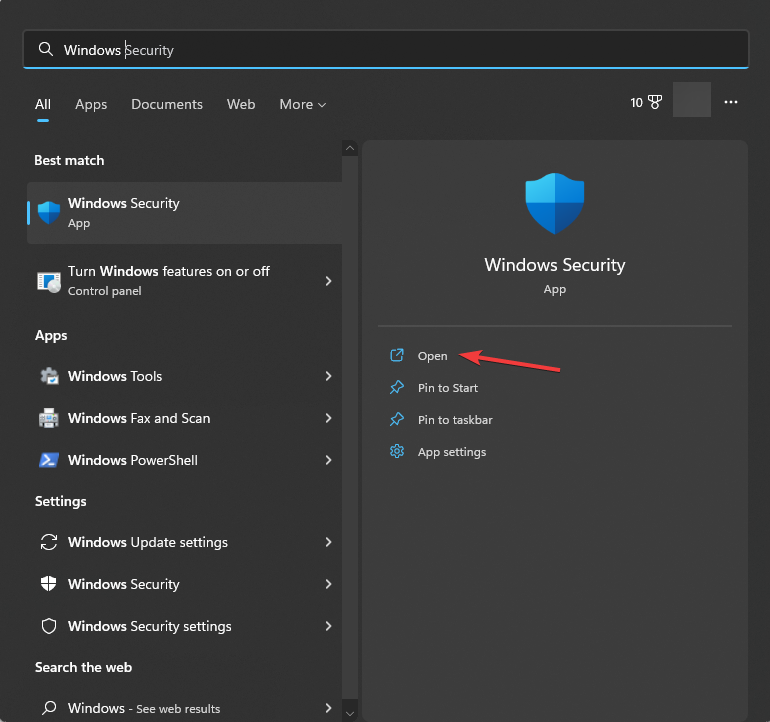
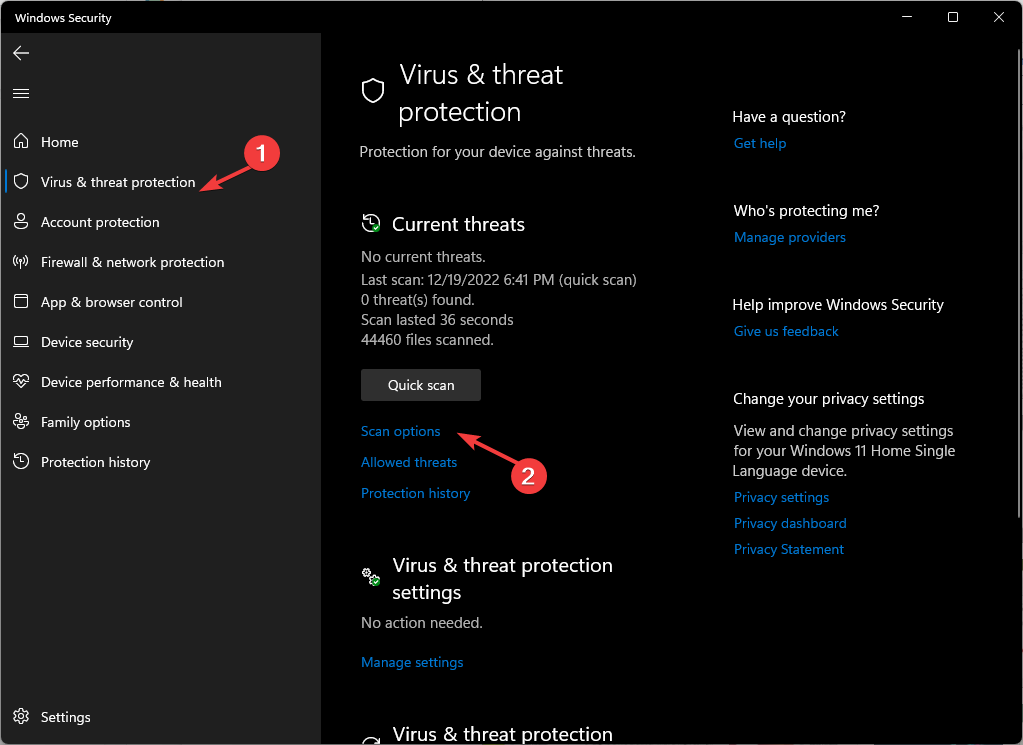
- Press the Windows key, type windows security, and click Open.
- Click Virus & threat protection.
- Now, click Scan options.
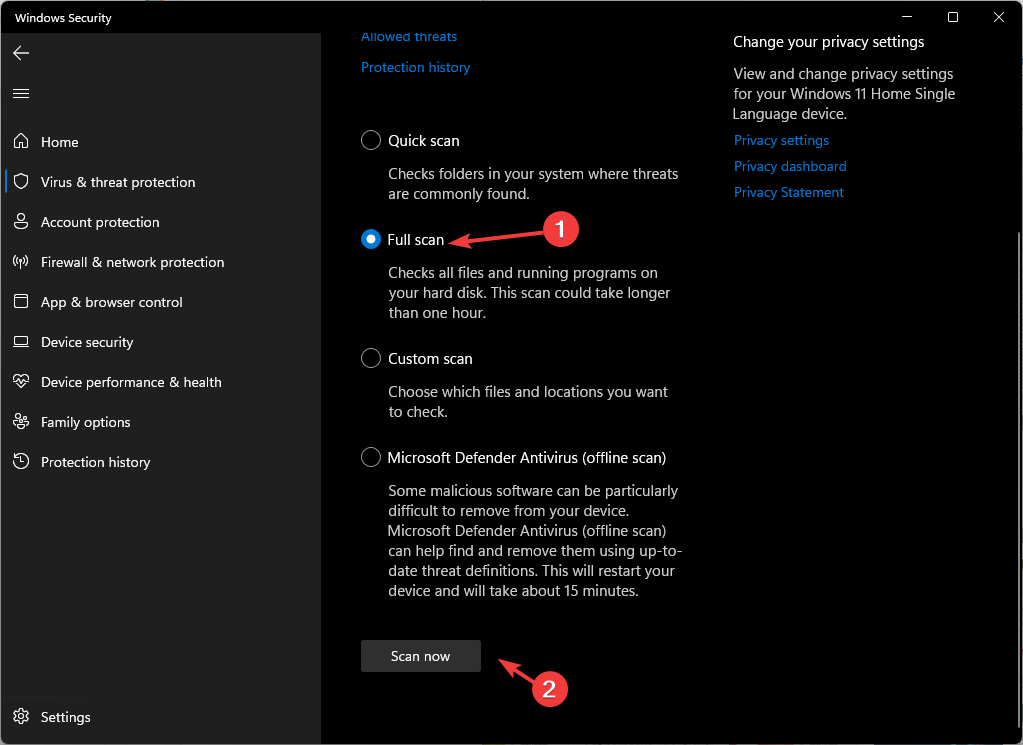
- Select Full scan and click Scan now.
- The security software will look for viruses and malware and ask you to delete them if found. Remove the malicious files and restart your computer.
3. Add msconfig.exe key in Registry Editor
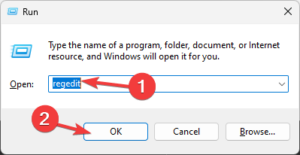
- Press Windows + R to open the Run window.
- Type regedit and click OK to open the Registry Editor.
- Navigate to this path:
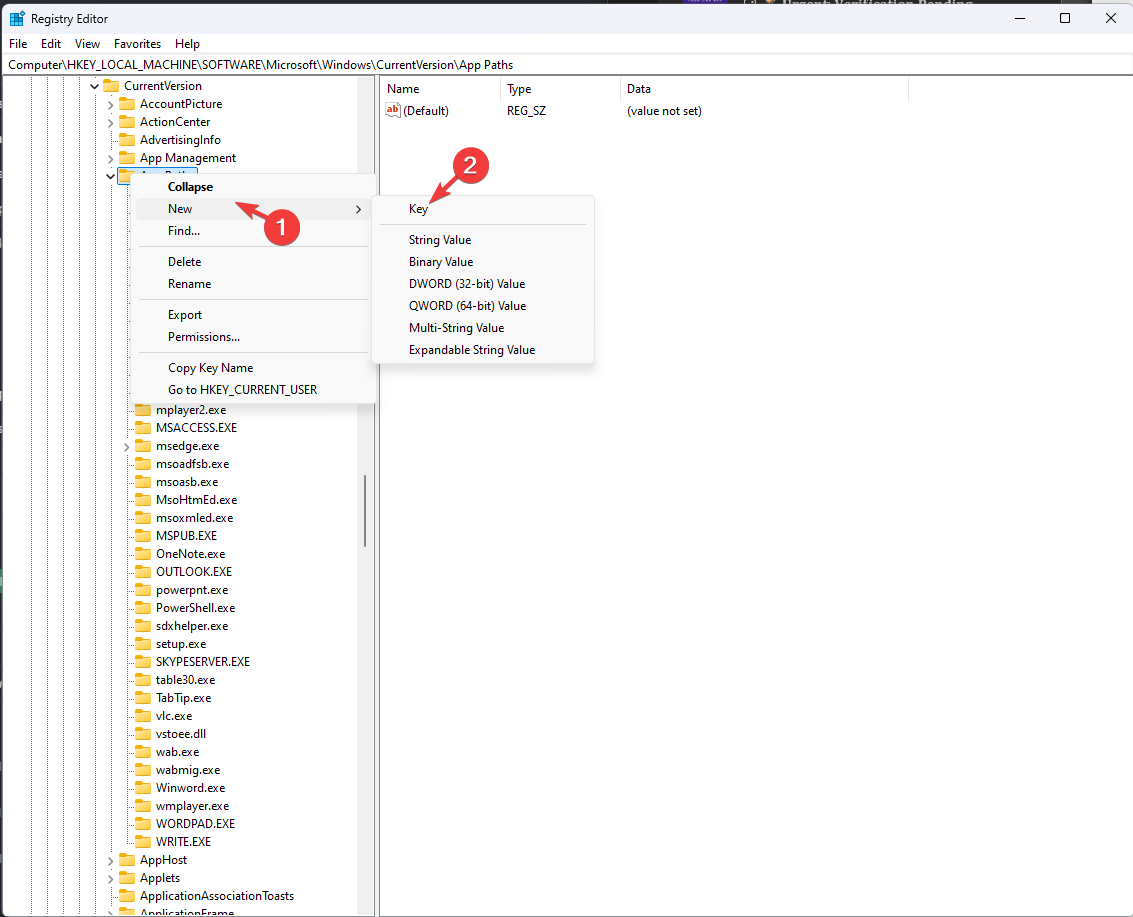
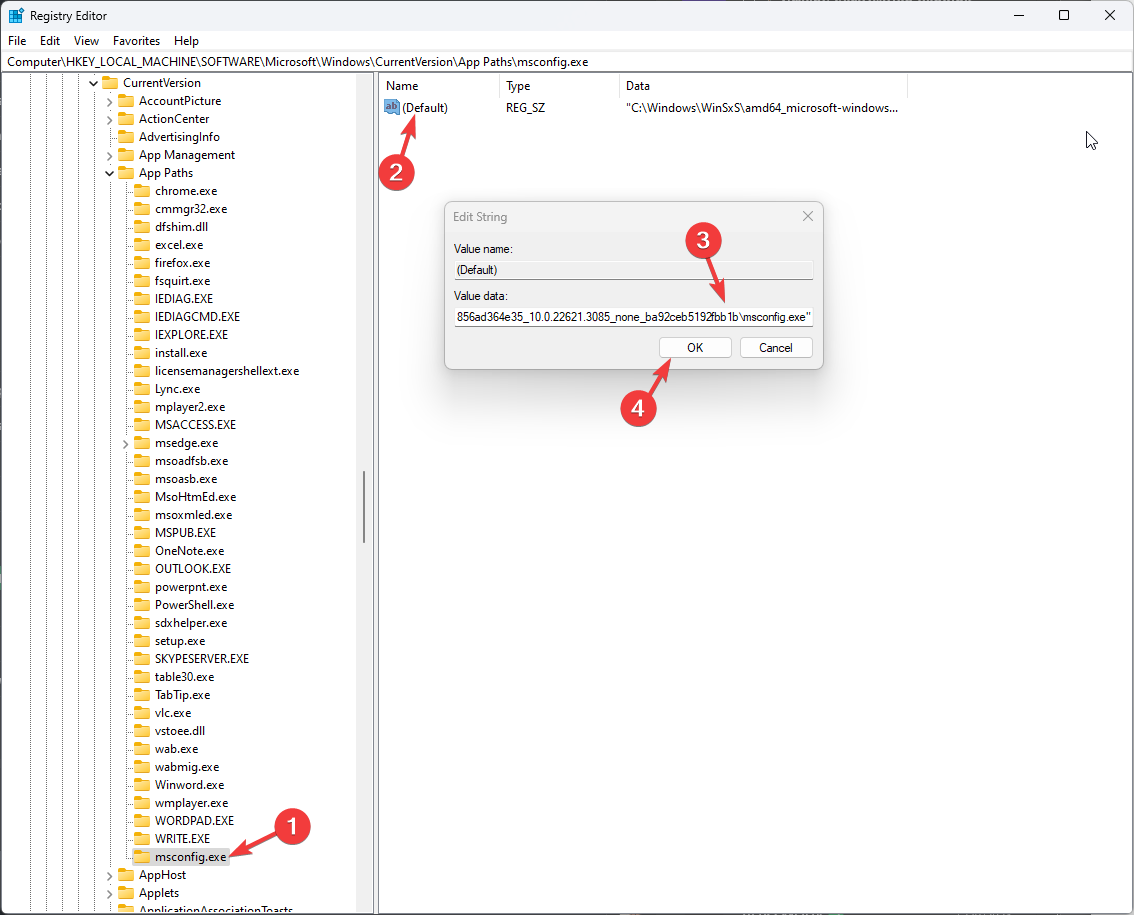
Computer\HKEY_LOCAL_MACHINE\SOFTWARE\Microsoft\Windows\CurrentVersion\App Paths\MSCONFIG.EXE - If you don’t find it, we will have to add it. Right-click App Paths and select New>Key
- Name the key as MSCONFIG.EXE.
- Now, press Windows + E to open the Windows Explorer, then go to the system drive and look for the Windows folder. Type msconfig.exe to get a file with the same name. Right-click it and select Copy as Path from the context menu.
- In the right pane, double-click (Default), paste the path under Value data, and click OK.
- Reboot your computer to let the changes take effect.
4. Uninstall recent Windows updates
 NOTE
NOTE
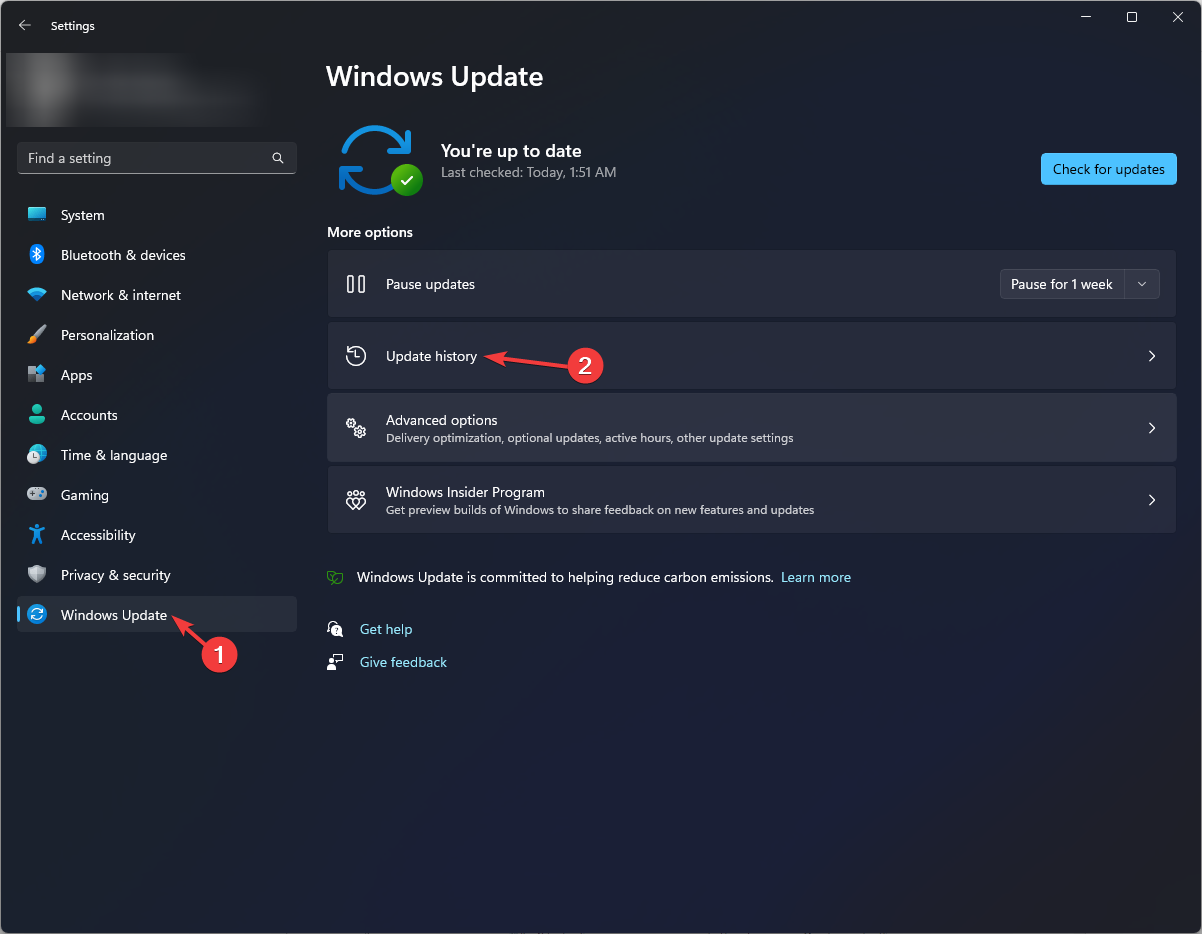
- Press Windows + I to open the Settings app.
- Go to Windows Update and select the Update history option.
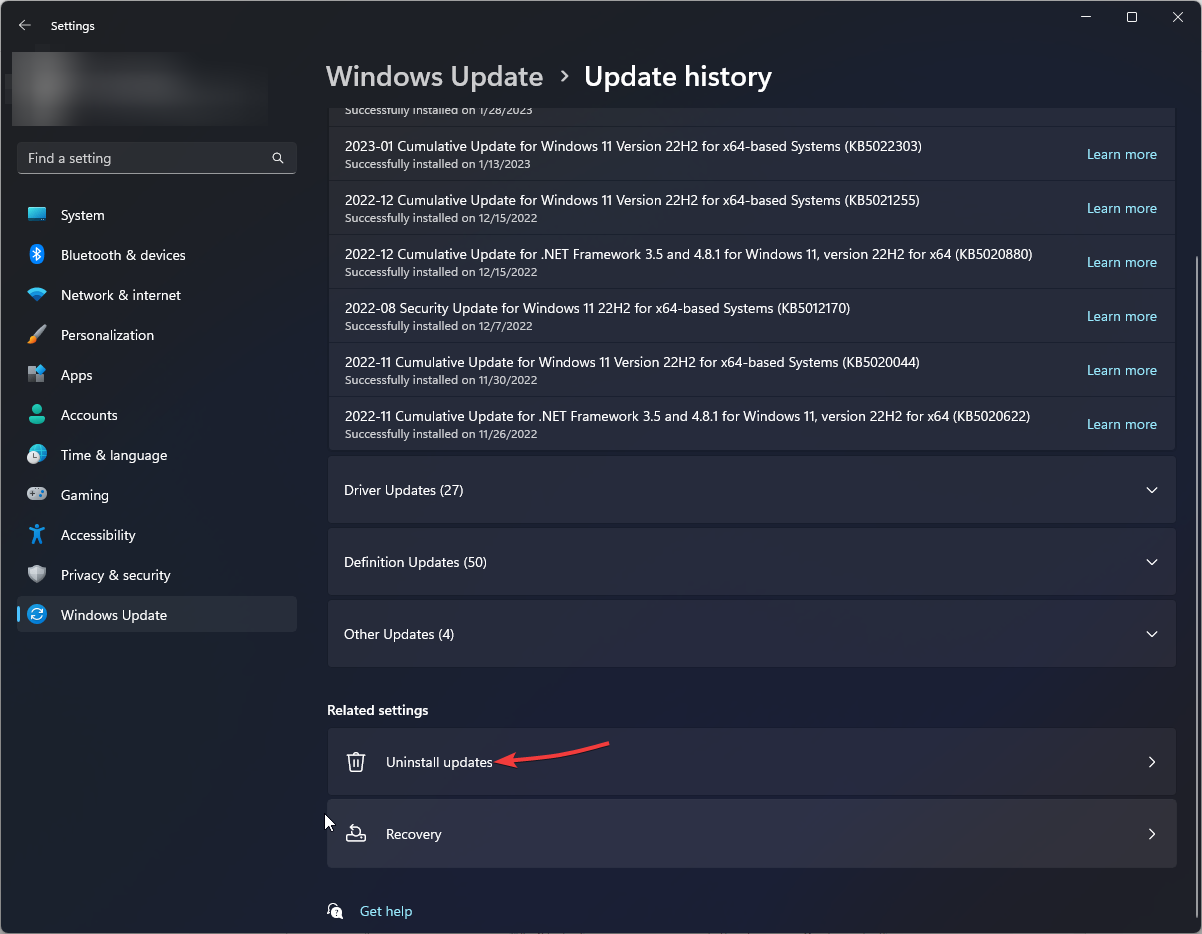
- Click Uninstall updates.
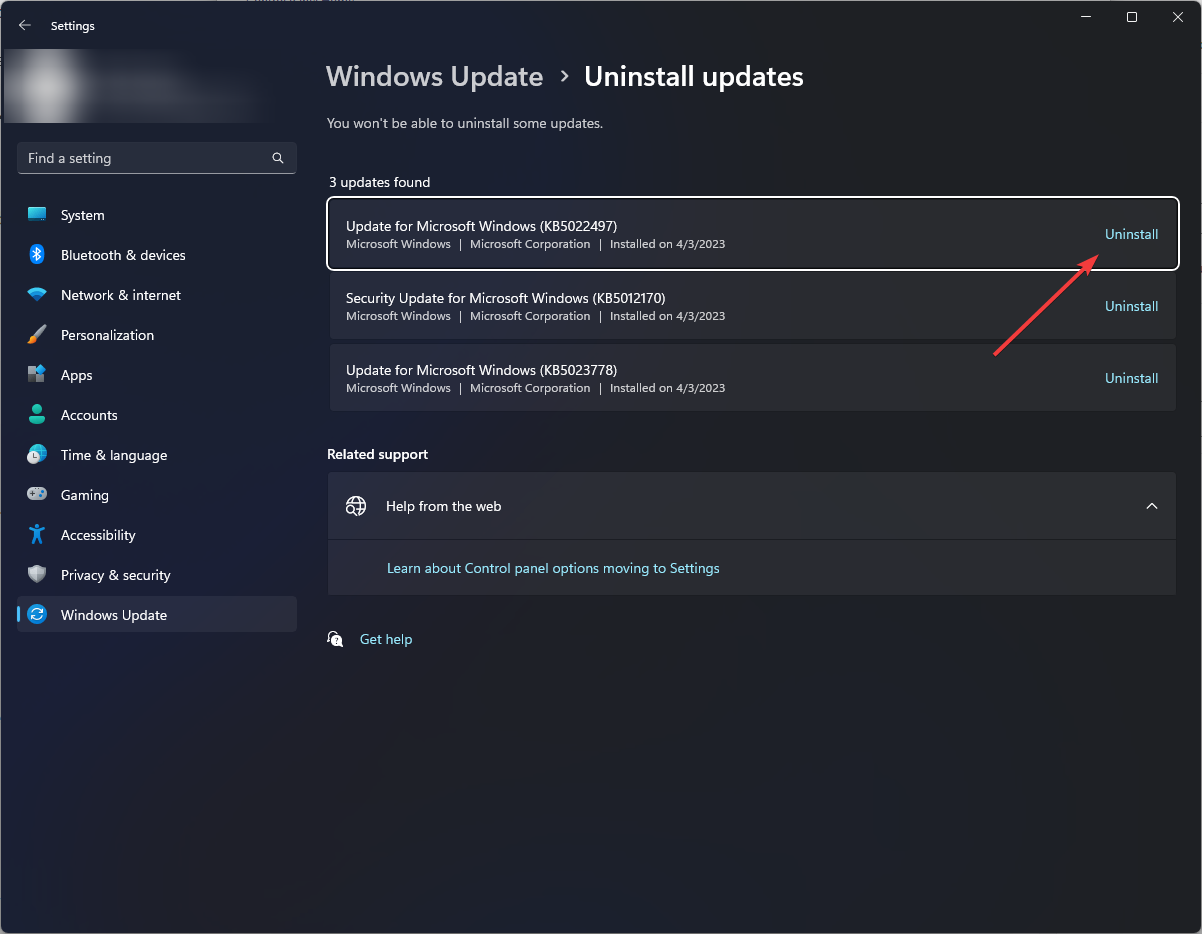
- You will get a list of updates, locate the latest ones, and click Uninstall.
5. Restore your computer to the previous version
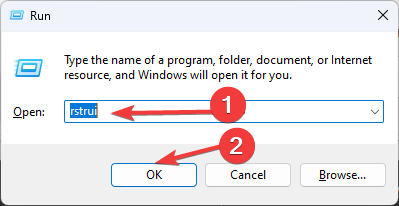
- Press Windows + R to open the Run window.
- Type rstrui and click OK to open the System Restore window.
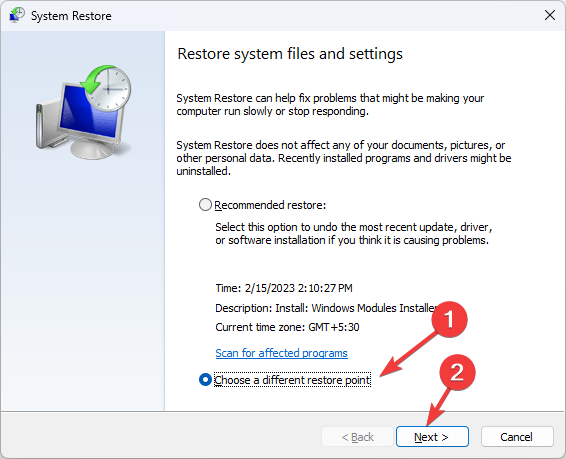
- Select the Choose a different restore point option and click Next.
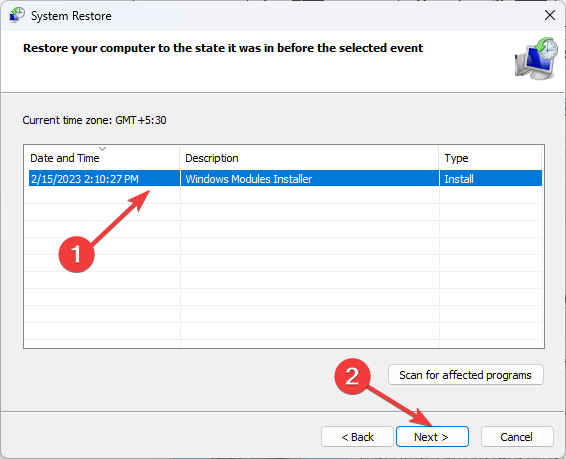
- Now choose the restore point and click Next.
- Click Finish.
Your computer will restart and restore the system settings to the chosen point. If the System Restore did not complete successfully, it could be due to conflicting programs or driver errors, read this guide to learn more.
6. Run an in-place upgrade (Last resort)
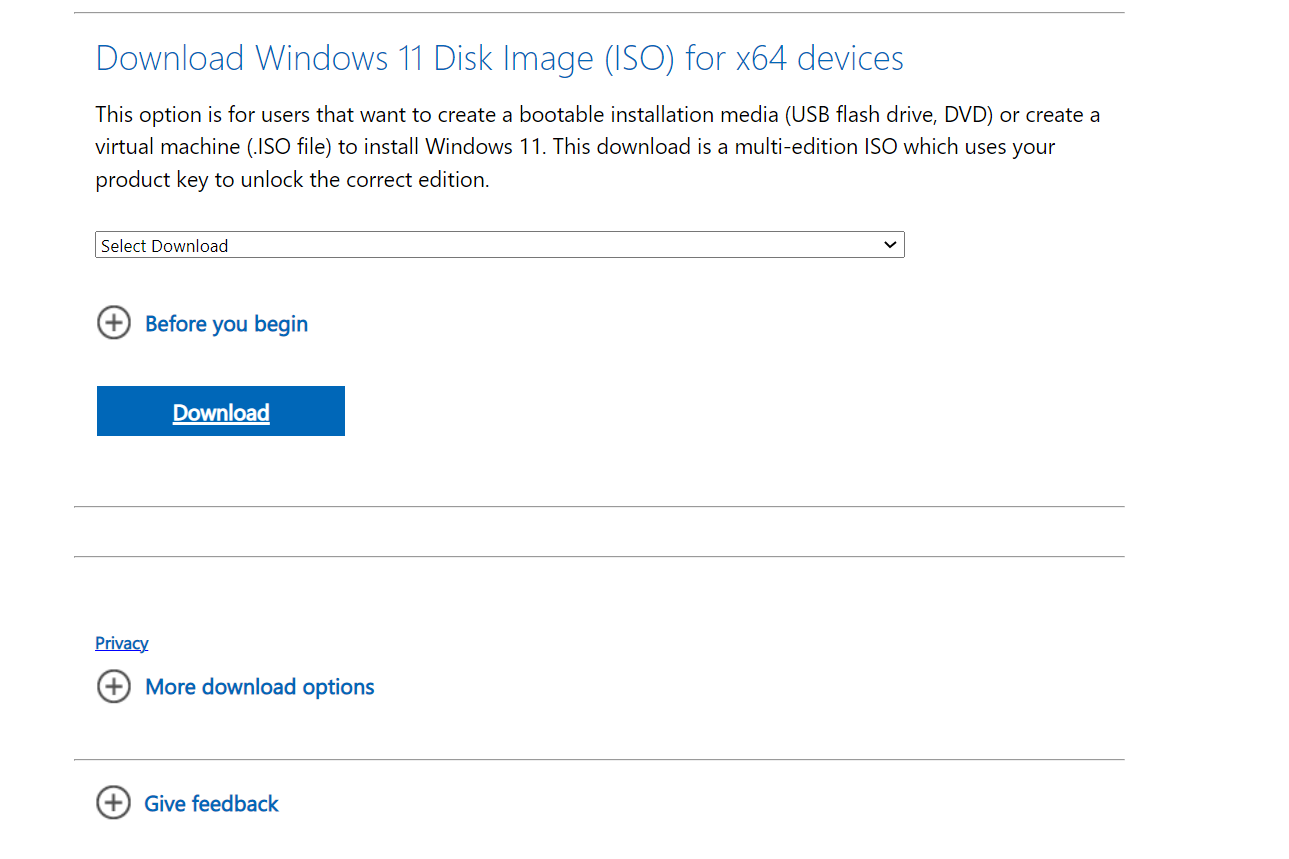
- Download the Windows 11 ISO after choosing the edition and product language from Microsoft’s official website.
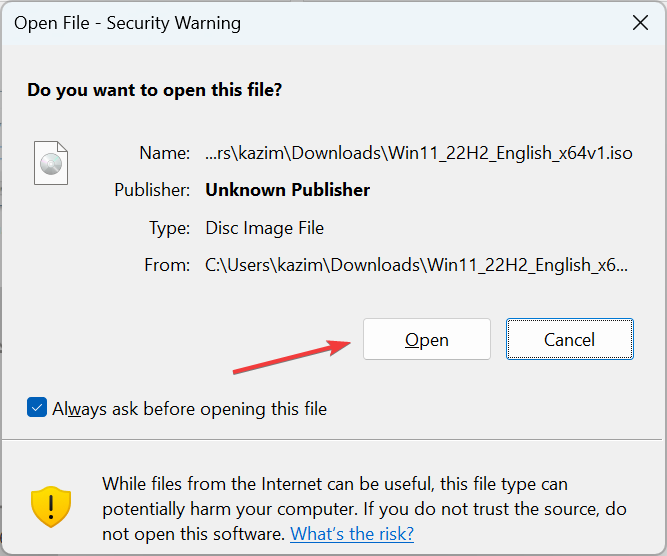
- Double-click on the ISO file, and click Open in the prompt.
- Run the setup.exe file.
- Click Yes on the UAC prompt.
- Click Next on the Windows 11 Setup.
- Now, click Accept to agree with the Microsoft license terms.
- On the next screen, ensure the setup wizard says Keep personal files and apps, then click Install. Otherwise, click the Change what to keep option, choose Keep personal files and apps, and click Install.
- Follow the on-screen instructions and wait for some time to complete the process.
Remember that if your computer is infected with a virus or has missing files, it could cause various problems, including Windows Update error 0x8007370
Therefore, it is essential to run scheduled security scans and keep the system up to date to prevent other issues as well.
If you can’t get msconfig to work and don’t have time to reset your computer, try these msconfig alternatives.
Did these steps help you fix the msconfig not working issue? Share your thoughts with our readers in the comments section below.

